Adding Live Streaming Video
Livestreaming on Teyuto is as simple as it gets.
In this walkthrough, we will live stream a sermon using Open Broadcaster Software (OBS) Studio. For the uninitiated, OBS Studio is an open-source and cross-platform streaming software. To learn more about it and how it is useful while streaming, read our blog on OBS here.
To livestream a video via Teyuto, you need to follow these quick and easy steps:
- Open the “Videos” screen
Firstly, open the Videos screen by clicking on the “Videos” button in the left menu bar.
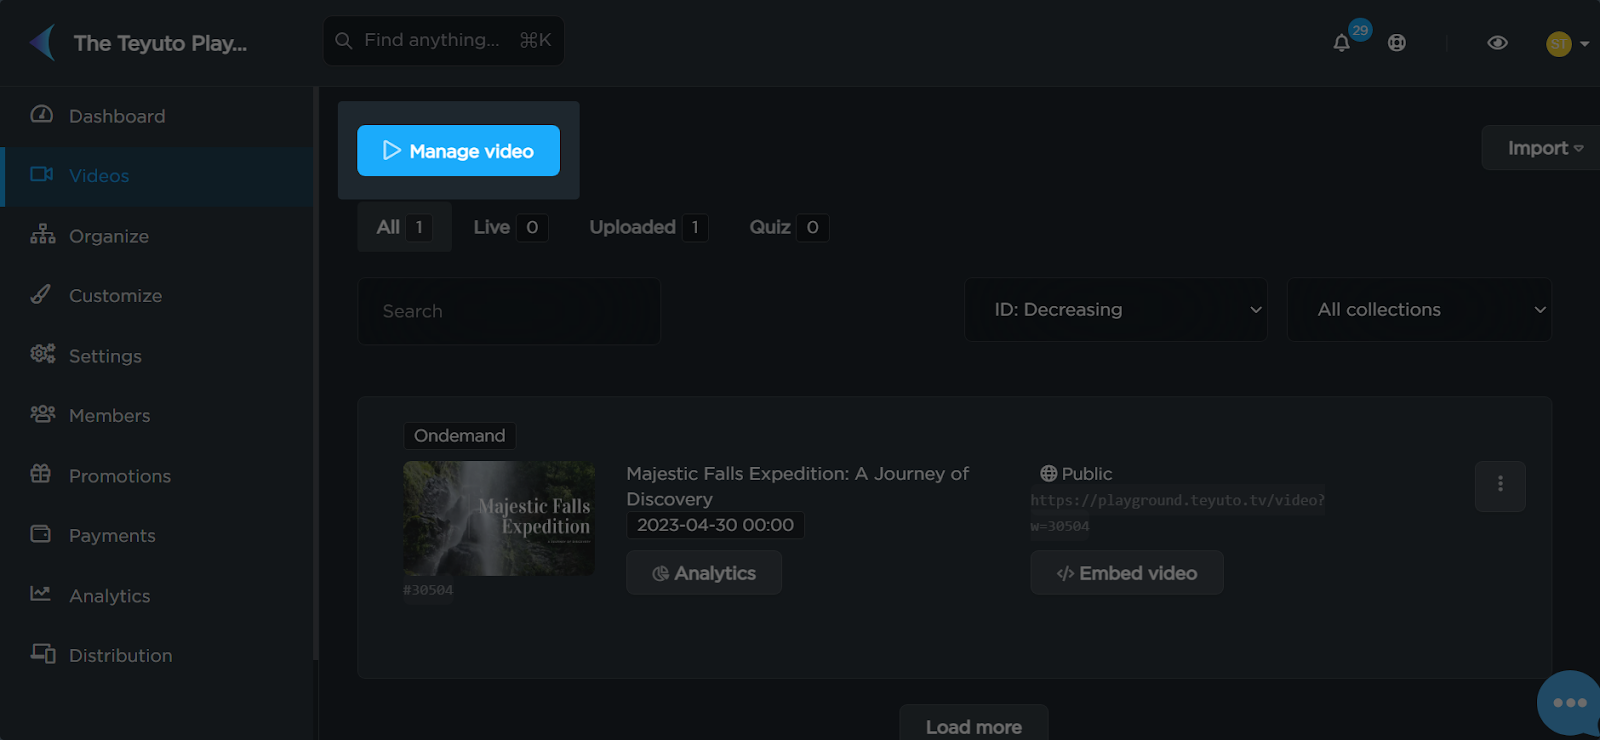
- Click on the “Manage video” button
Press the “Manage video” button on the top-left corner of the screen (highlighted below).
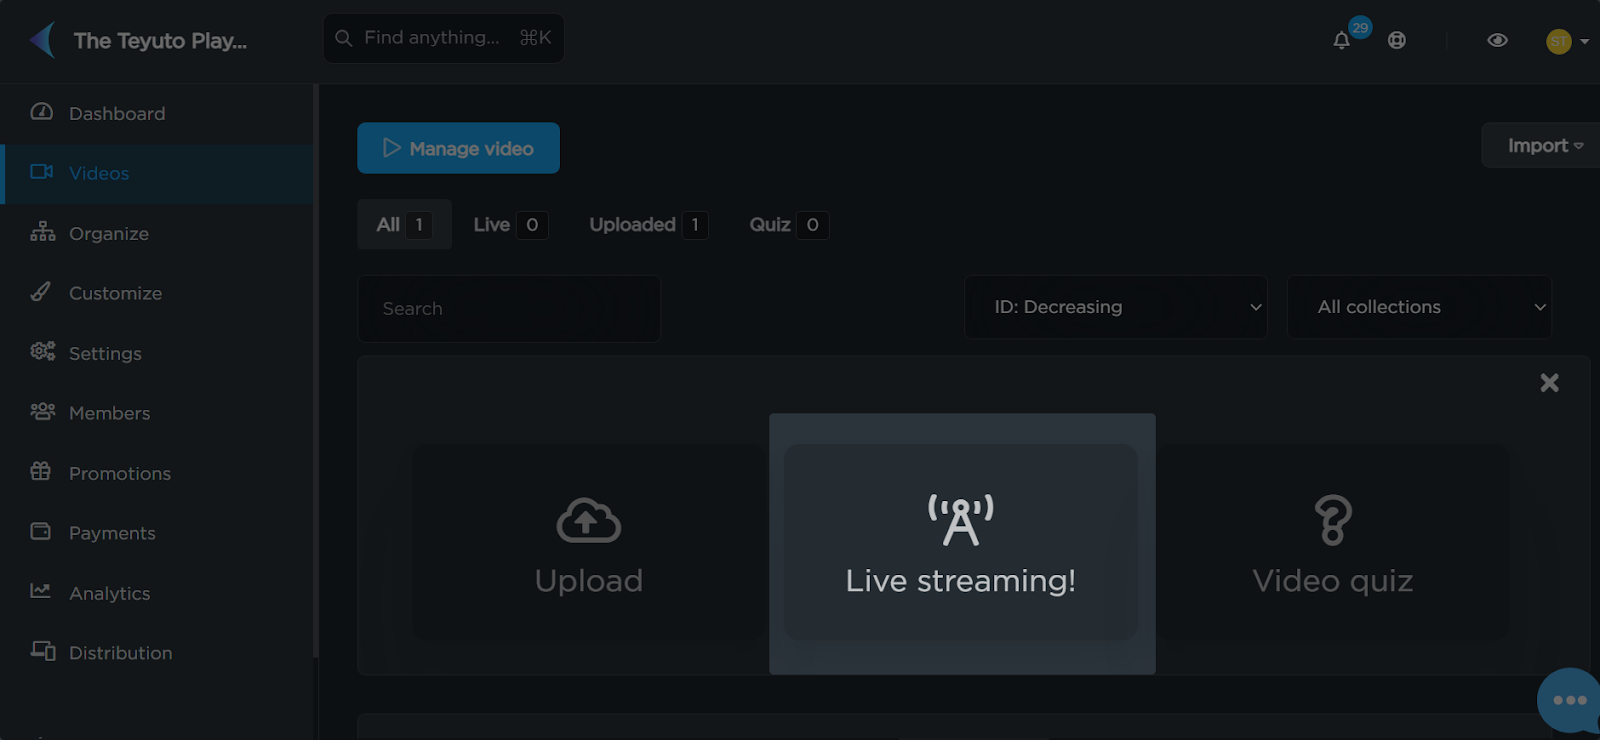
- Click on the “Live streaming!” card
A section containing three cards, namely “Upload”, “Live streaming!”, and “Video quiz”, will appear in front of you. Choose the “Live streaming!” card.
- Enter the video details
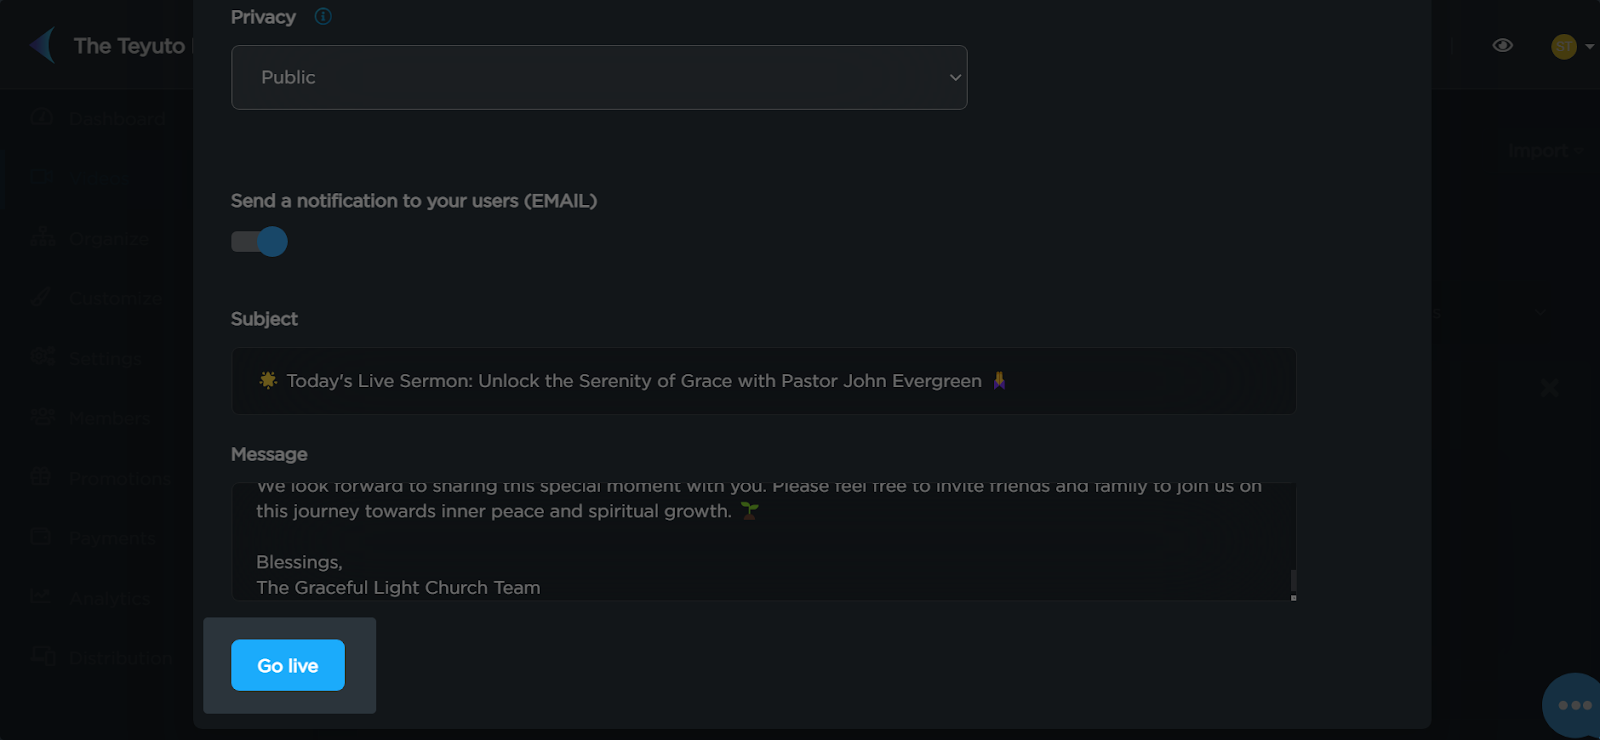
Next, enter all the relevant details (title, date, tags, collection, privacy, attachment, etc.) in the new video dialog box that appears.
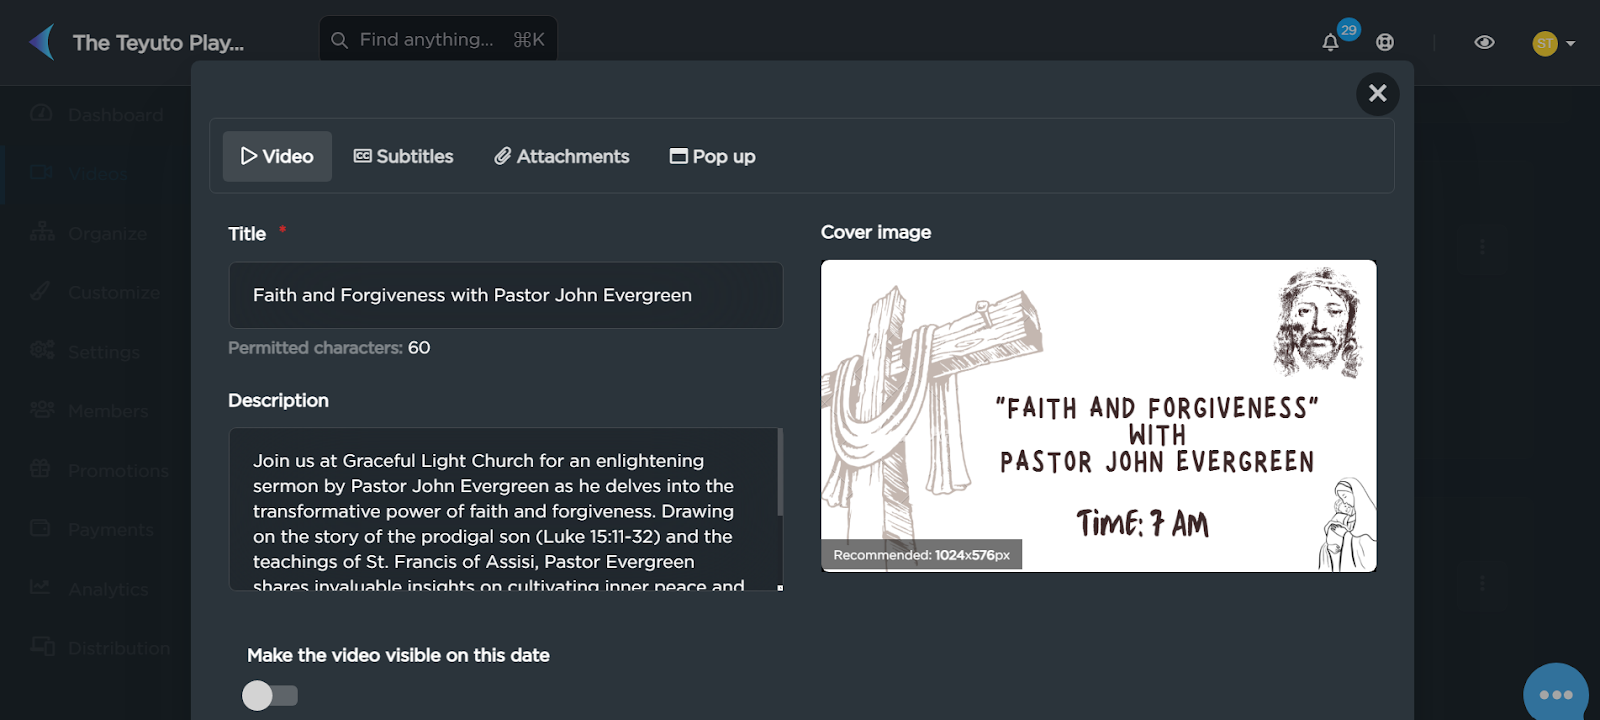
If you need help with updating this information, please visit our respective guides on Video, Subtitles, Attachments, and Pop up.
Once you’ve entered all these details, press the “Go live” button at the bottom of the dialog box.
- Collect the RTMP and Stream Key
The live streaming video link will now be available in your video library.
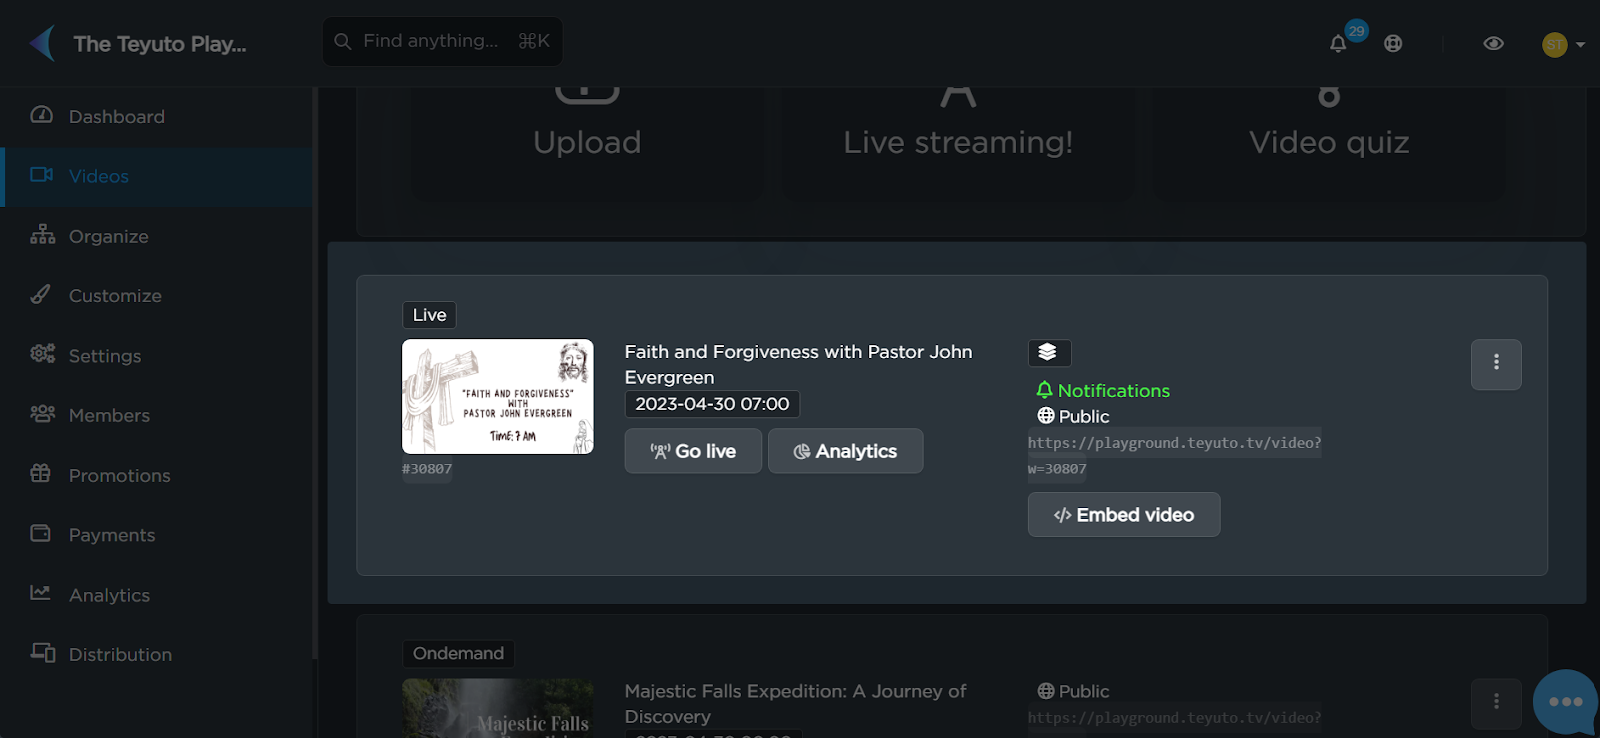
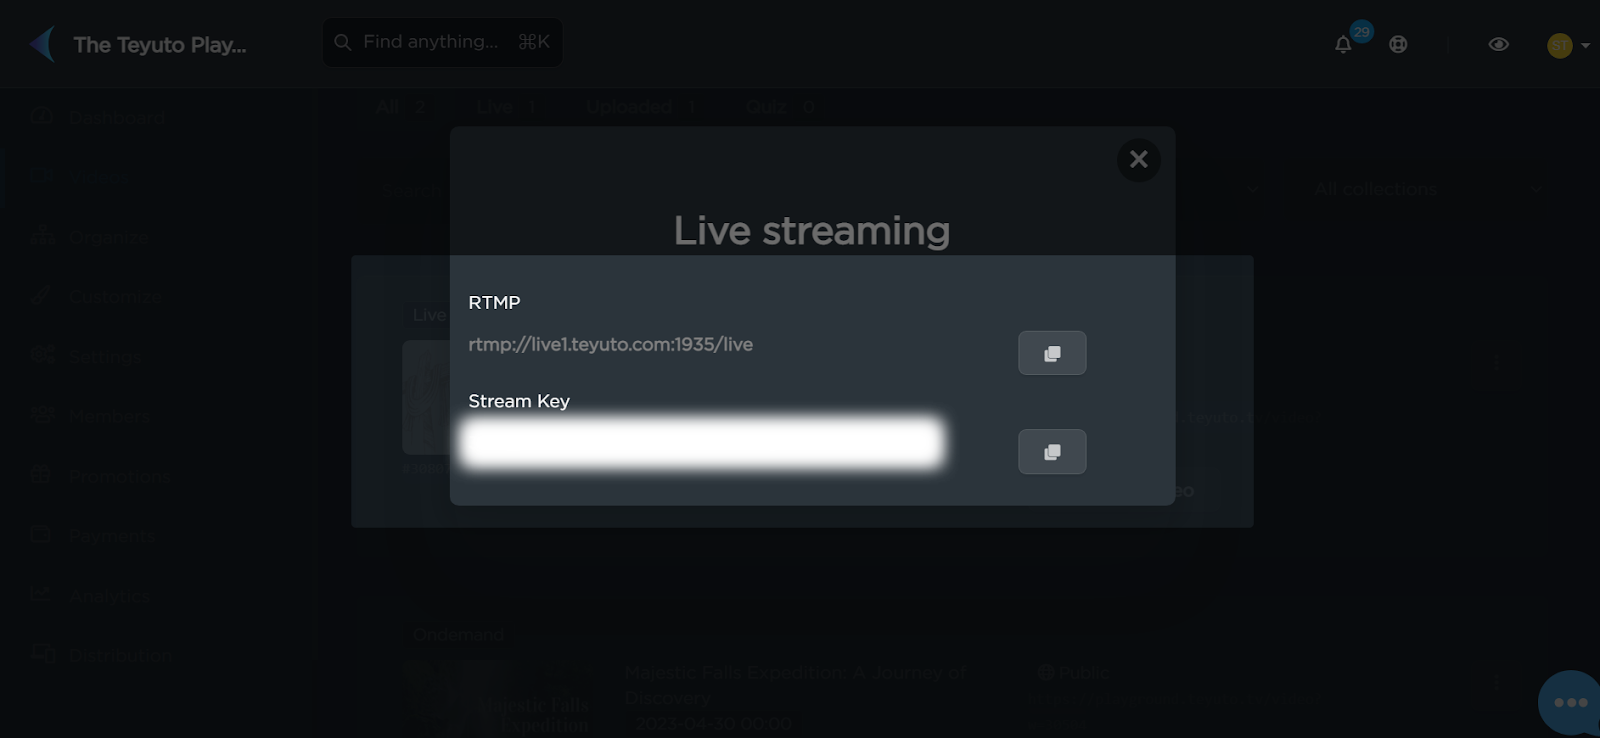
Now, click on the “Go live” button to collect the RTMP (Real-Time Messaging Protocol) address and the stream key.
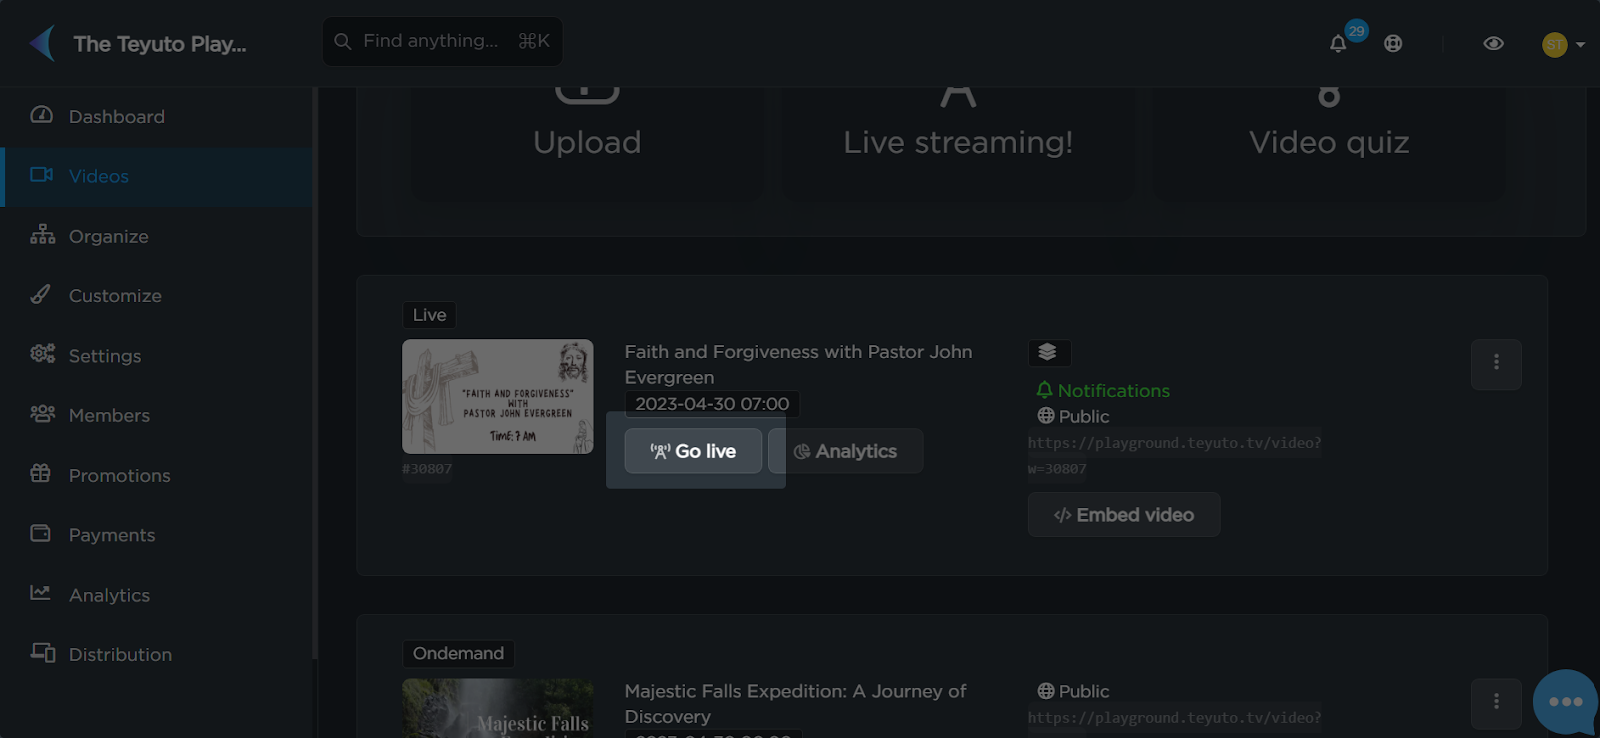
The RTMP address and stream key will appear in front of you. Copy this address to live stream from your preferred source. In this example, we will be using OBS Studio, which is a popular software for live streaming.
Note: Your stream key is private to you and you must never share it with anyone. It may not only increase your cost overheads but also have security or legal implications (as someone may broadcast offensive/prohibited content using it.) So, secure your stream key at all costs.
- Enter the details in your streaming source
Now, go to your streaming source and paste your RTMP address and stream key there.
In OBS Studio, you’ll have to go to “Settings” and then choose “Stream” on the left menu bar. In the “Service” option, select “Custom”. Then, paste your RTMP address and stream key into the fields for “Server” and “Stream Key” respectively.
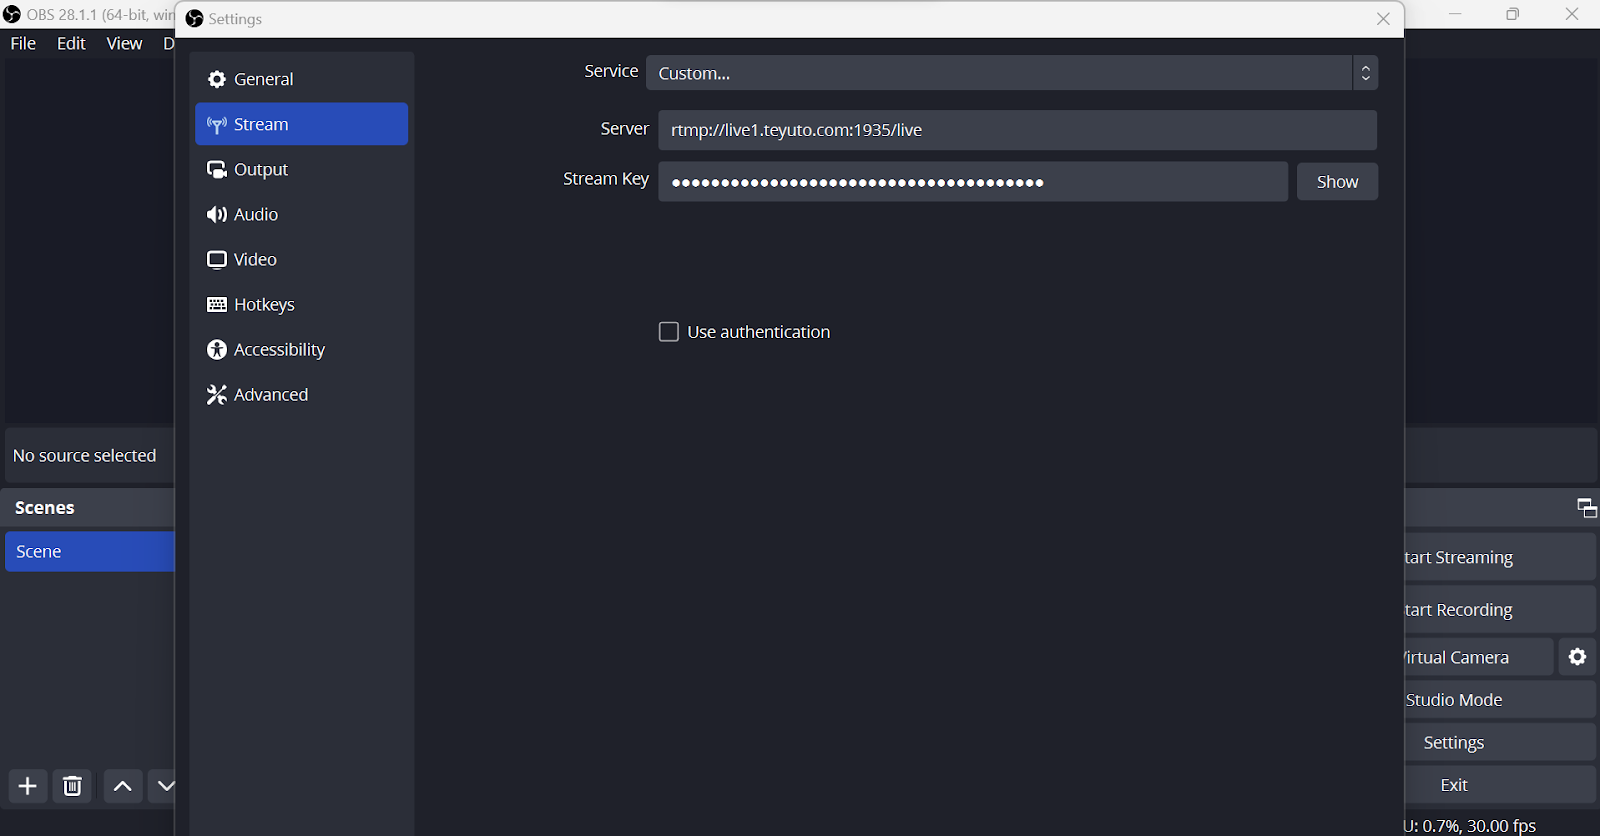
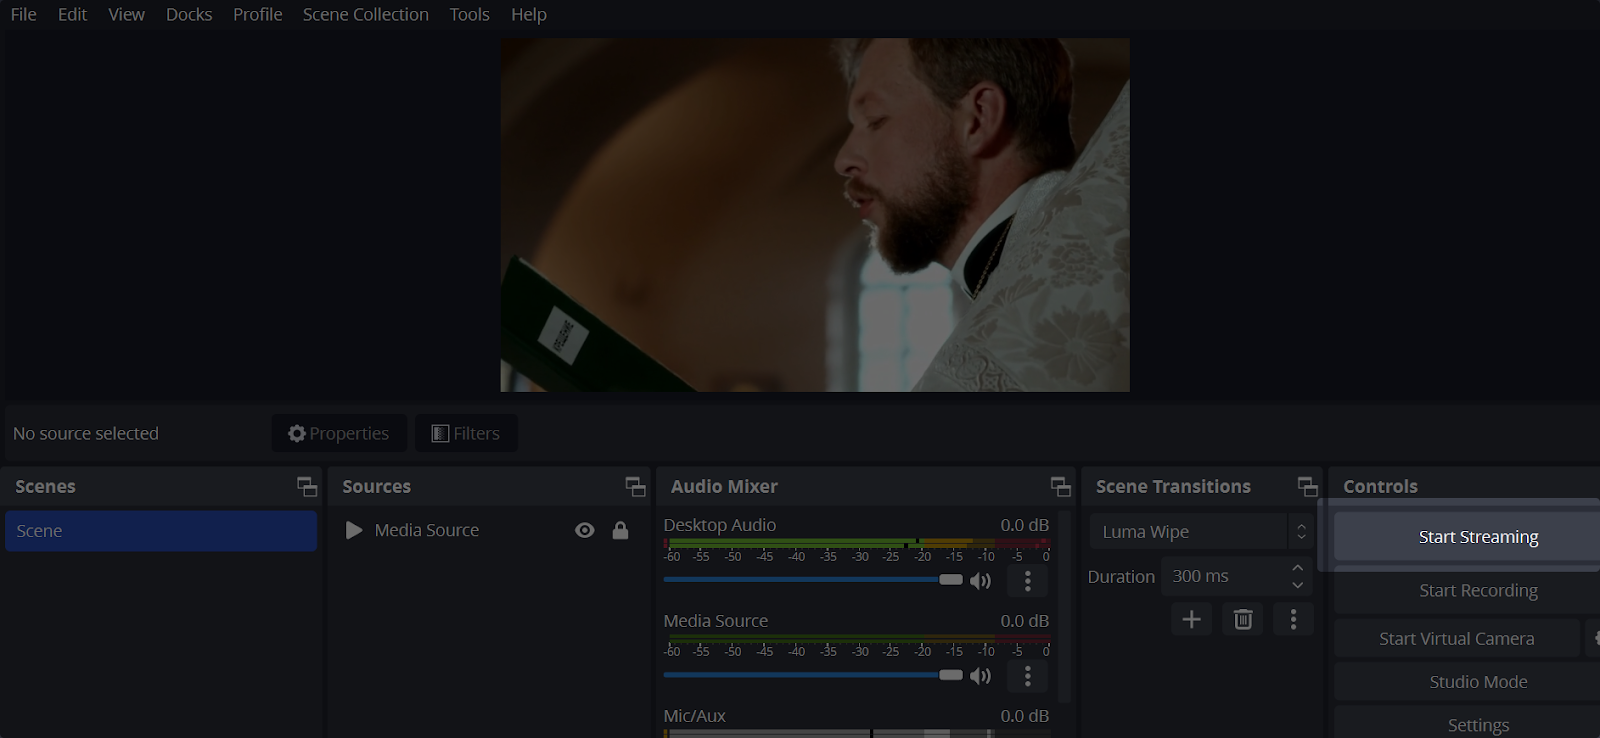
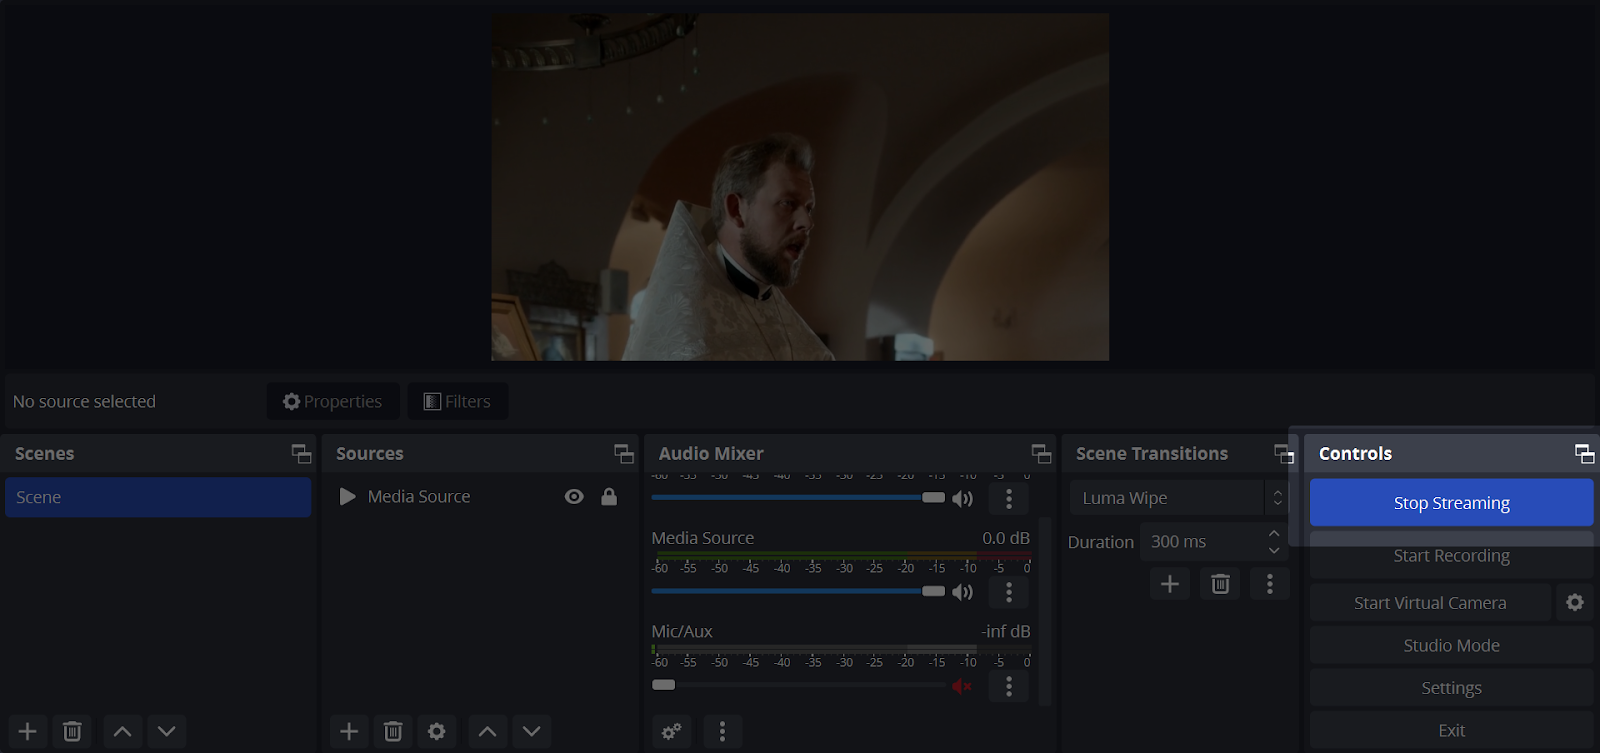
Now, save the changes and you’re good to go. Once you have your scene, sources, audio, etc. ready, press the “Start Streaming” button on the bottom right.
- Check your video output
If you’ve scheduled your live stream for later, the video player will show the countdown till the scheduled live stream.
Once this countdown is over, you’ll see a message stating “Get ready, the live streaming is about to start…”
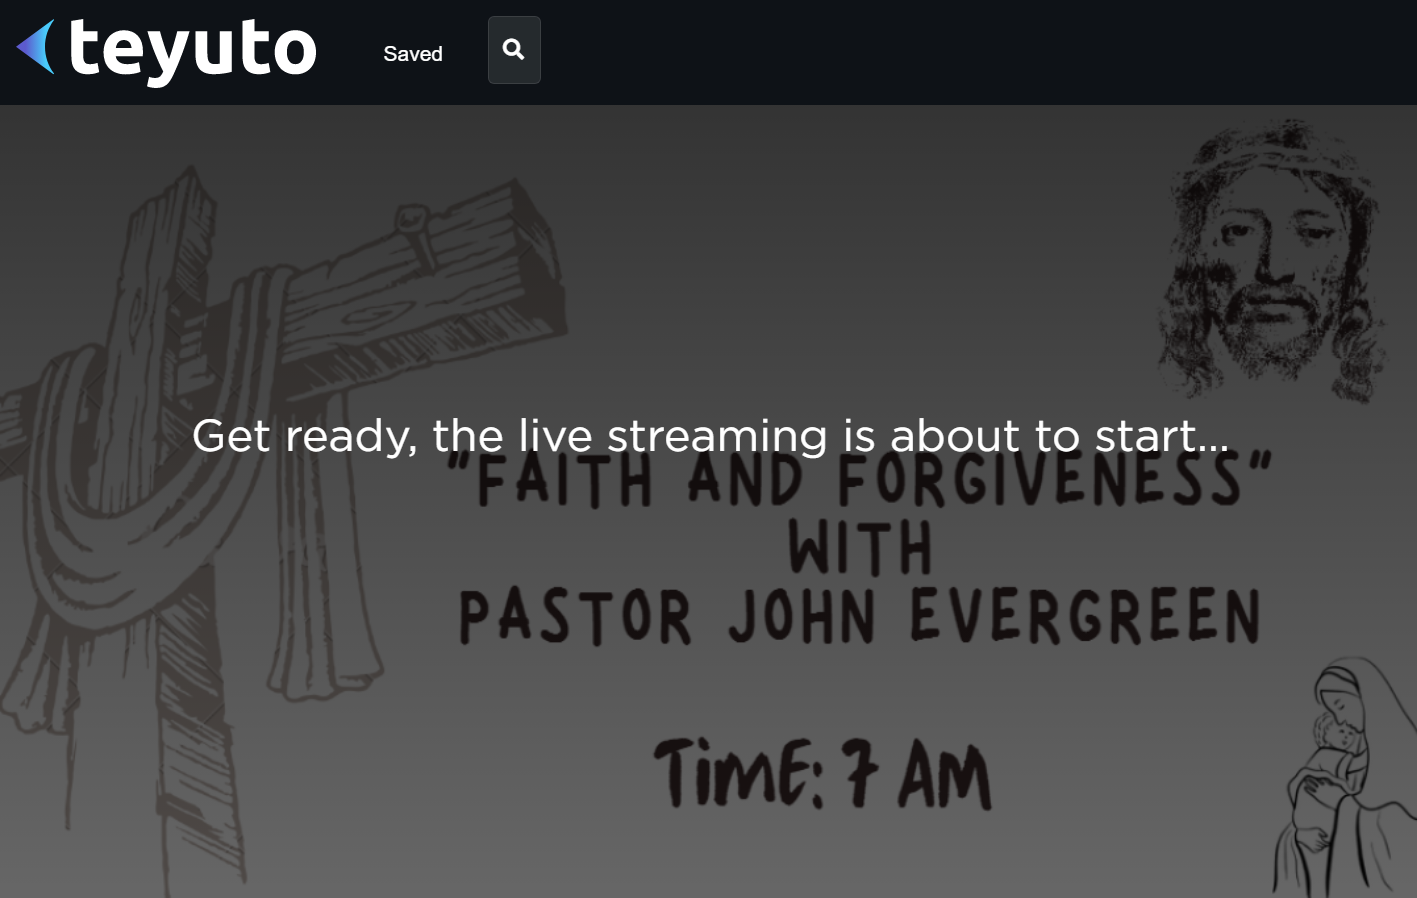
However, please note that this message will keep displaying until the source starts streaming. Once we start streaming from the source, i.e. OBS Studio in our example, the live stream will begin.
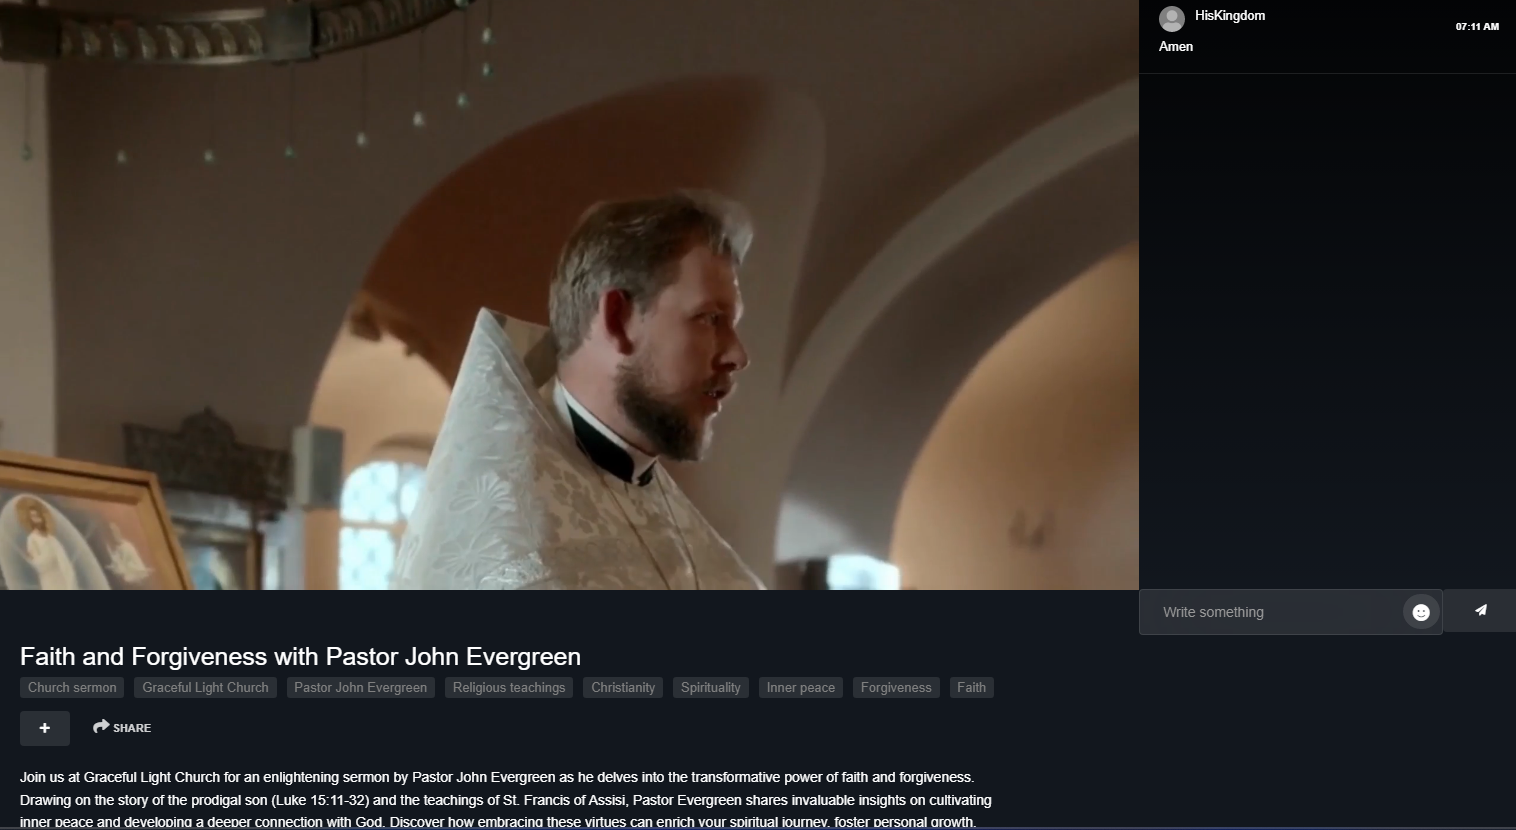
Your screen should now look like this.
In case it isn’t, you must troubleshoot the problem quickly. Chances are that your source may not be broadcasting the video. Or, the connection between your source and Teyuto might have some issues.
Double-check your RTMP address and stream key, ensuring they are entered correctly in OBS Studio. Also, confirm that your internet connection is stable and you have sufficient upload bandwidth for streaming. Check out our detailed troubleshooting guide for live streaming to know more.
Note: It’s best to test-run your live stream with your complete setup (including the time of day) before publishing a live broadcast. Since a lot of moving variables are involved in a live stream, you will be able to debug any issues easily this way without losing the audience.
- Engage with your audience/Social sharing
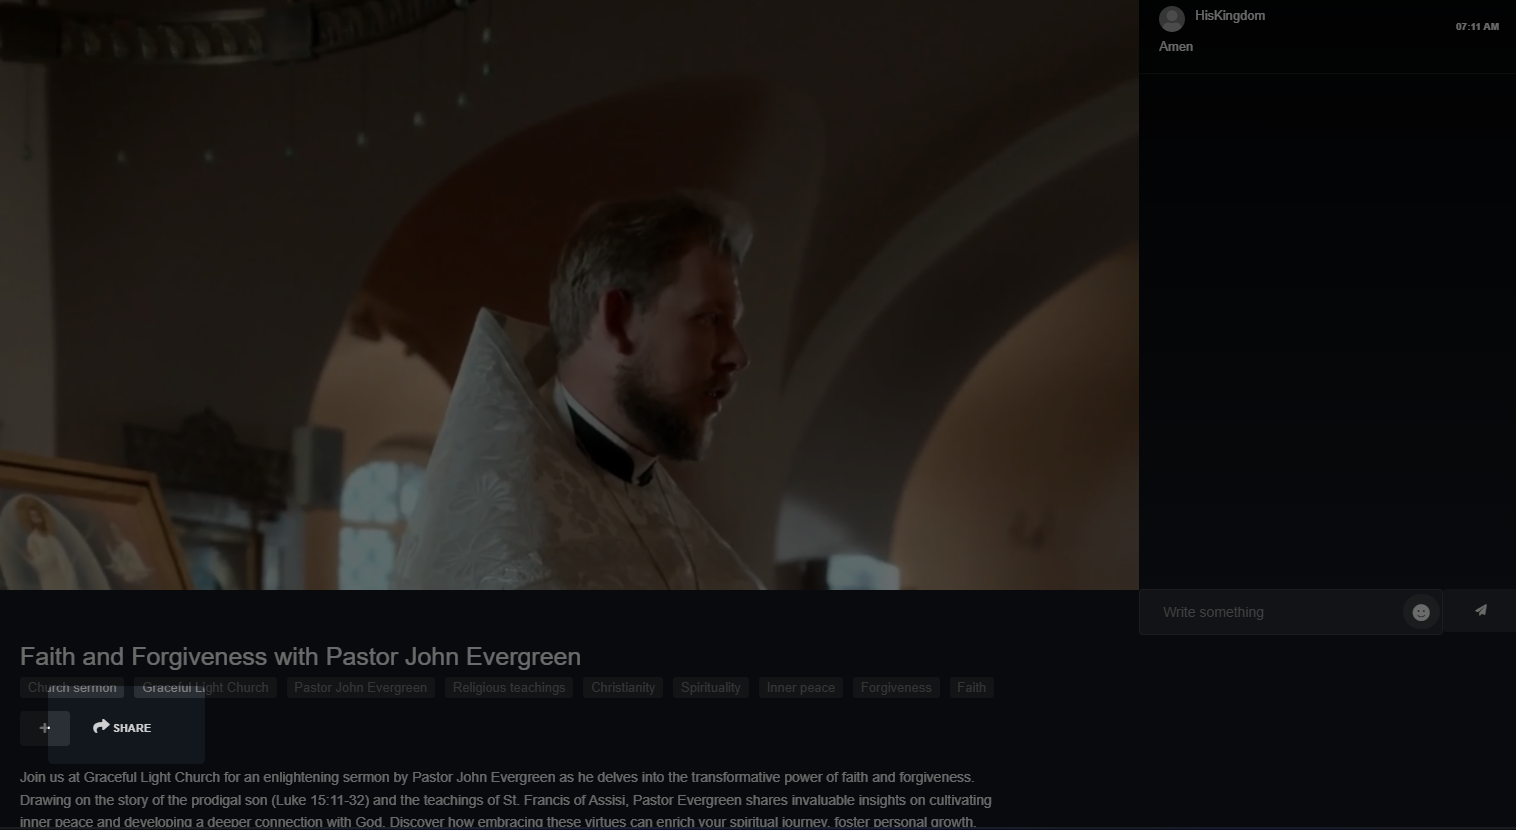
As your live stream is ongoing, you can engage with your viewers through the live chat feature. Make sure to answer any questions and respond to comments to maintain audience engagement and build rapport.

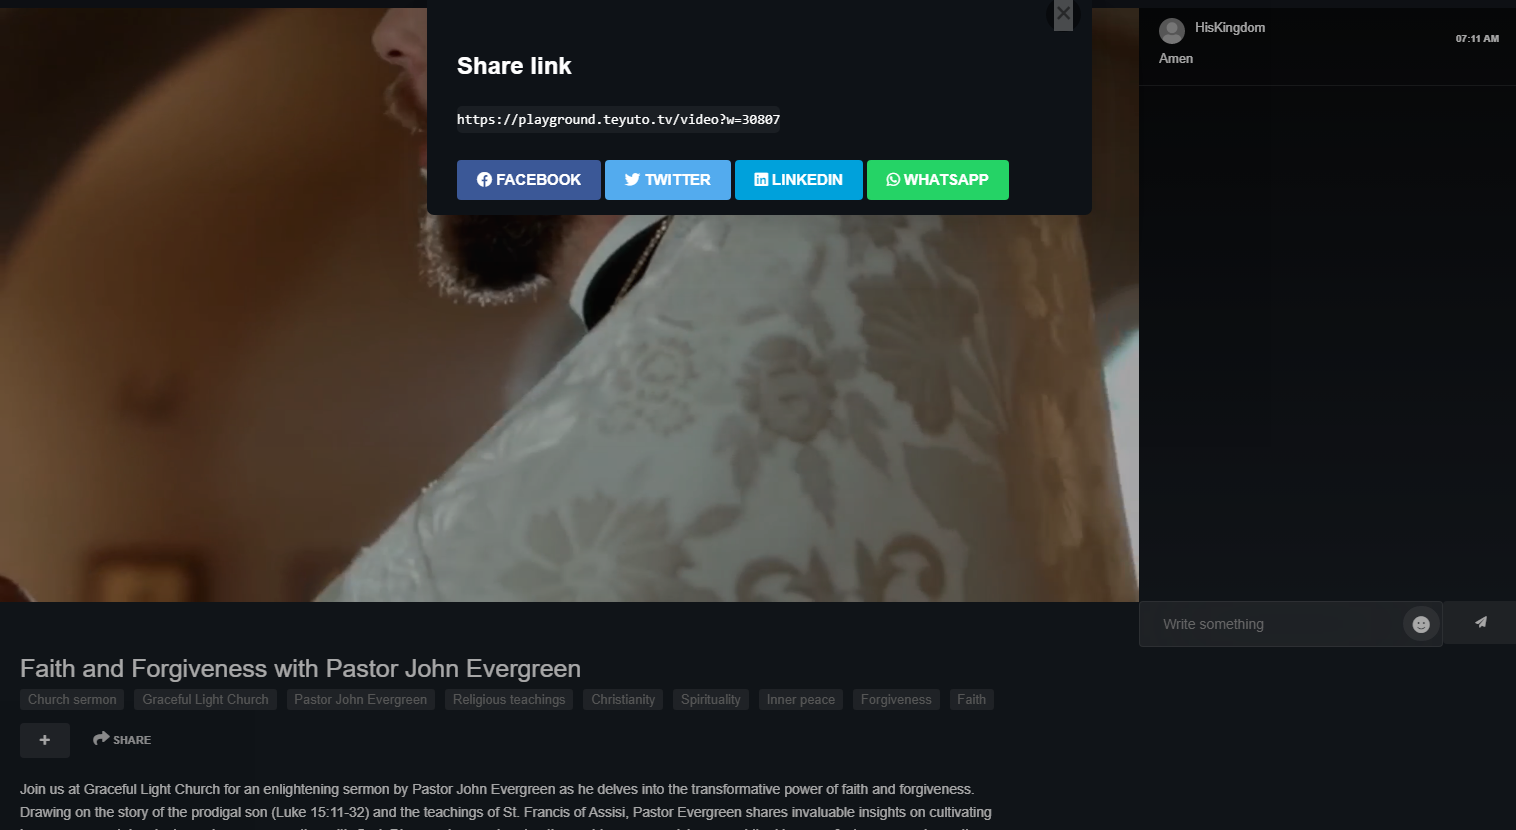
You can also share the video across social media channels with Teyuto’s social sharing option. Just press the share button below the video title.
Now, you can either copy the video link to share as a direct message or share the video directly on major social media platforms such as Facebook, Twitter, LinkedIn, or WhatsApp.
- End the live stream
When you're ready to end the live stream, simply press the "Stop Streaming" button in OBS Studio. The live video on Teyuto will end automatically.
- Analyze your live stream performance
Teyuto offers detailed analytics for your live streams, such as viewer count, watch time, and engagement metrics.
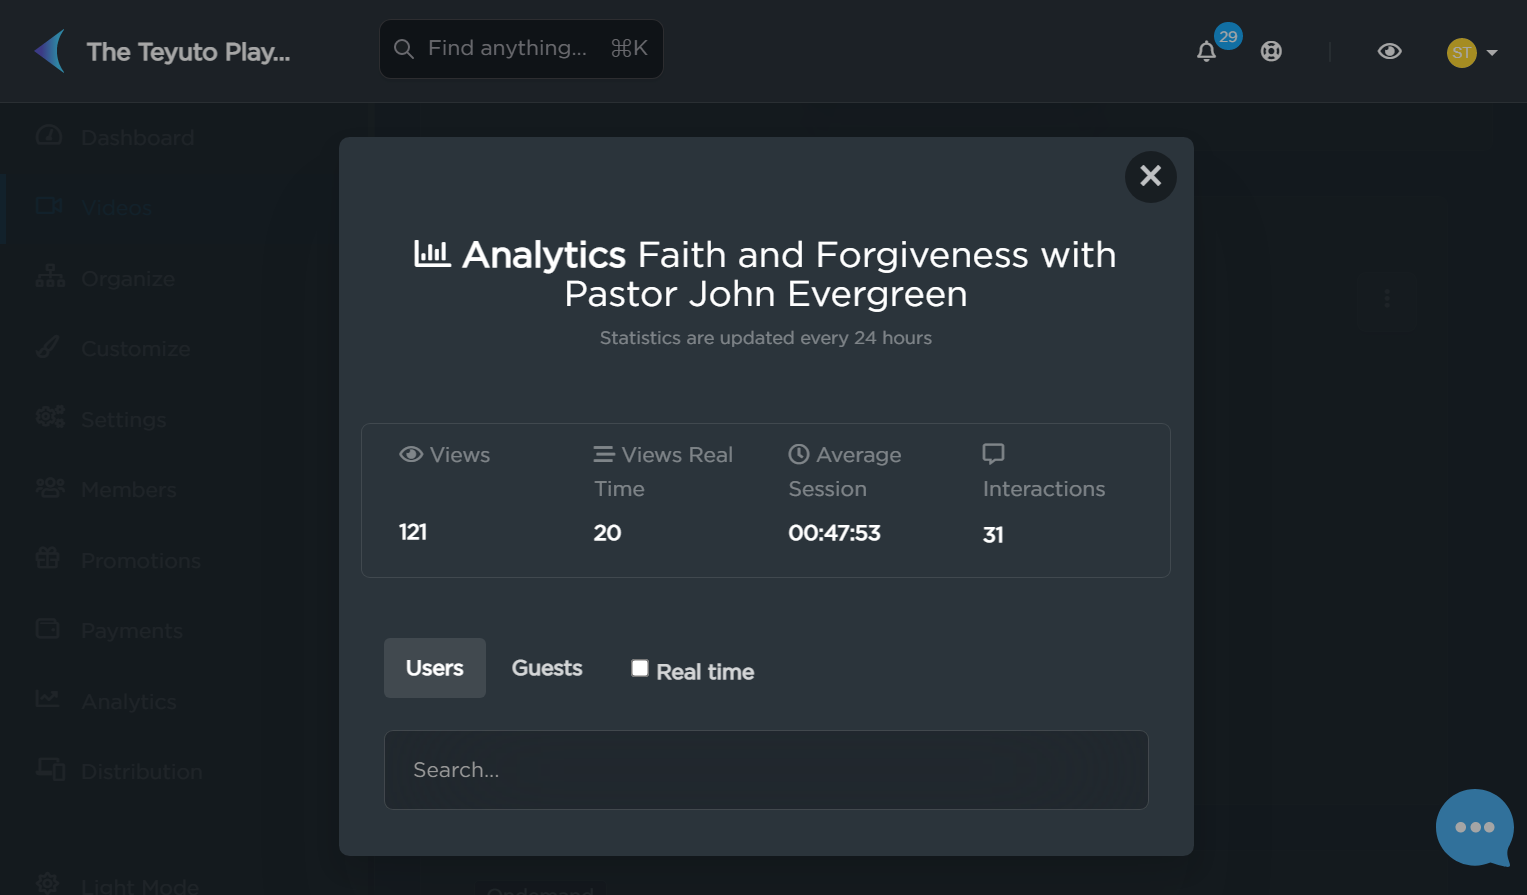
This data can help you better understand your audience's preferences and make improvements for future live streams.
Access this information from the video analytics section in your Teyuto account. Also, check out our analytics guide to gain deeper insights into how Teyuto empowers you with analytics.
Now, you have successfully live-streamed using Teyuto.
Keep experimenting and exploring to optimize your live-streaming experience and provide the best content for your audience. Happy streaming!